The Campbell Kitchen
How meticulous carpentry and smart engineering saved the client $13,000, resolved major structural complications, and gained 25 linear feet of storage space.
Custom Cabinet Storage & Upper Extensions
Preserving Premium Plywood Boxes
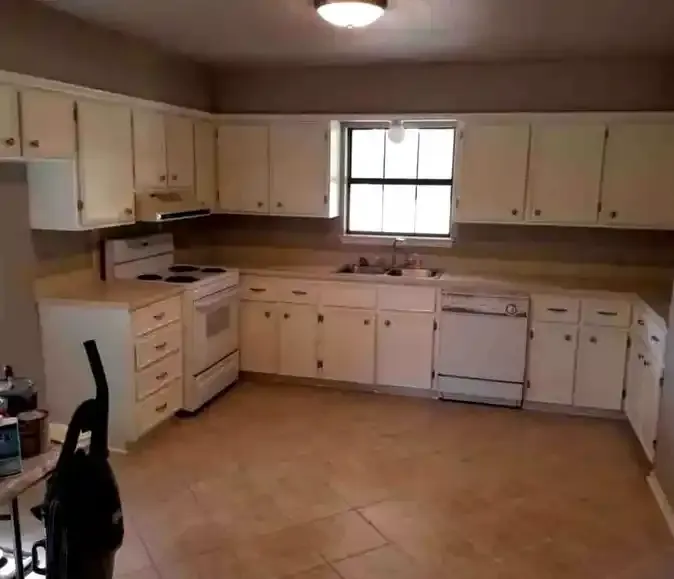
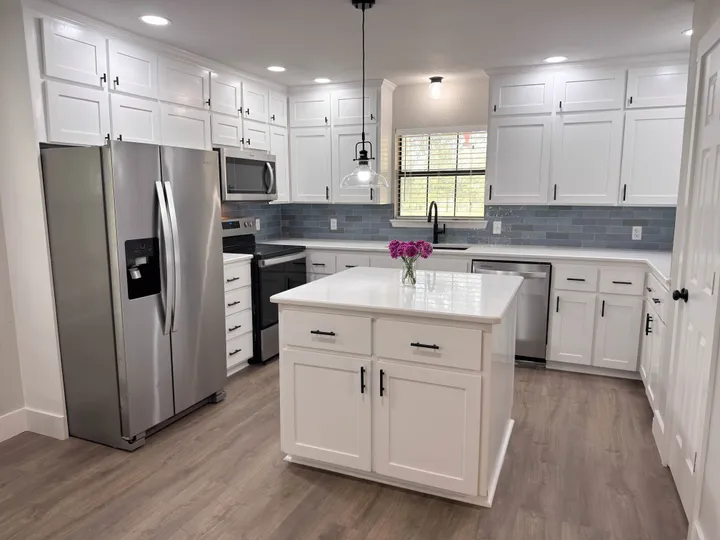
When remodeling a kitchen, the default path is often complete cabinet demolition and replacement. However, standard cabinet replacement can inflate project costs dramatically. At this residence in Campbell, Texas, we took a different approach. Rather than tearing out the client's premium, existing plywood cabinet boxes, we recommended modifying and painting them.
Hollow Fur-Down Removal & Cabinet Extensions
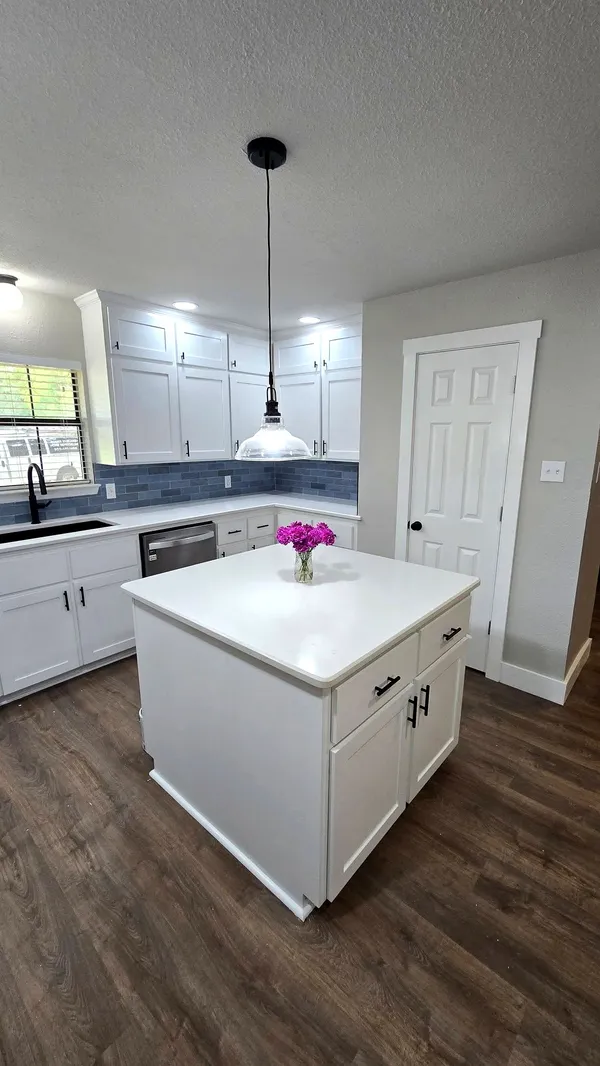
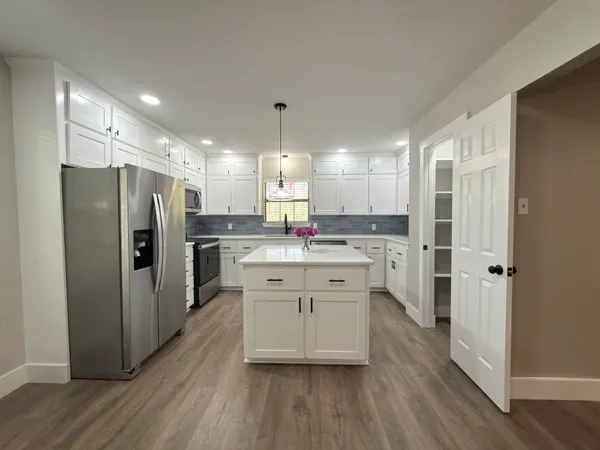
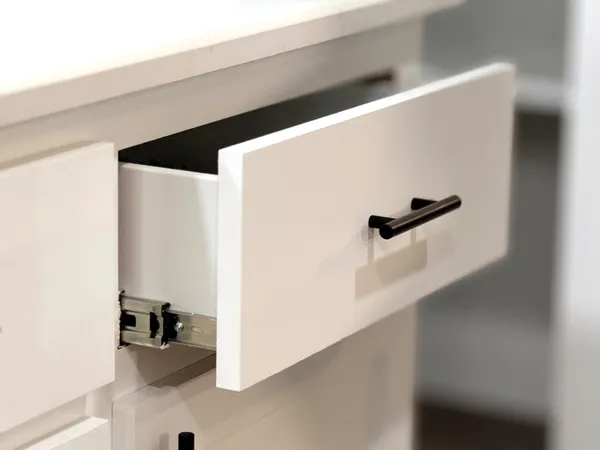
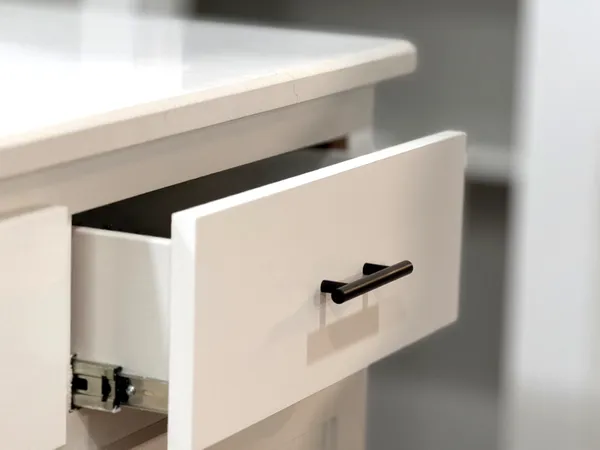
To maximize vertical storage, we crew carefully removed the "fur downs" (the hollow drywall bulkheads above the original cabinets), and built custom 1-foot-tall upper cabinet extensions. This structural modification successfully added 25 linear feet of new storage space, all while saving the client approximately $13,000 in materials and installation costs. We switched out knobs and handles, installed soft close hinges, added shaker style doors, and painted with three full coats of premium enamel.
Adding Premium Flooring
Luxury Vinyl Plank Subfloor Preparation
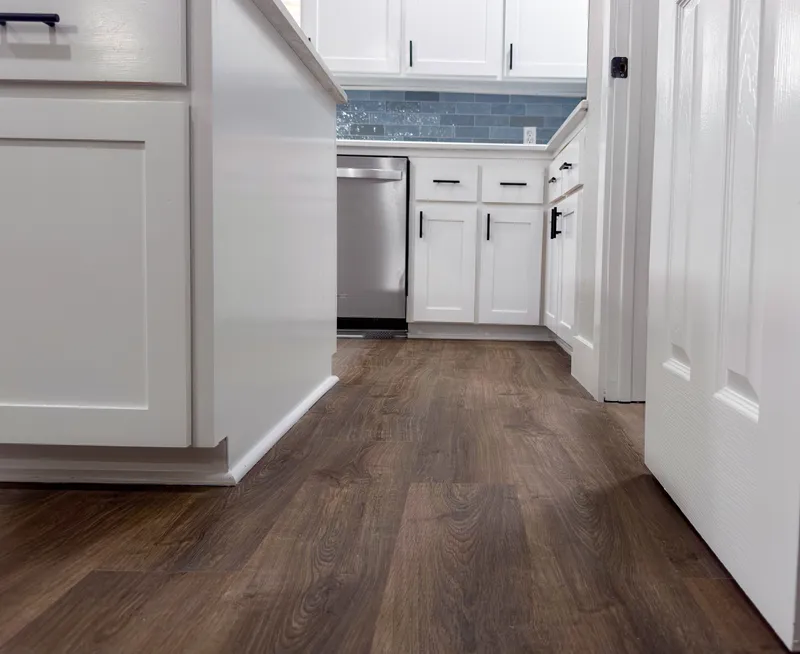
The existing floor consisted of dated, tan ceramic tile stretching across the kitchen, dining, living room, hallways, and closets. Laying new Luxury Vinyl Plank (LVP) directly over the tile would lead to grout lines settling and telegraphing through the vinyl.
Tile Demolition & 6-Inch Craftsman Baseboards
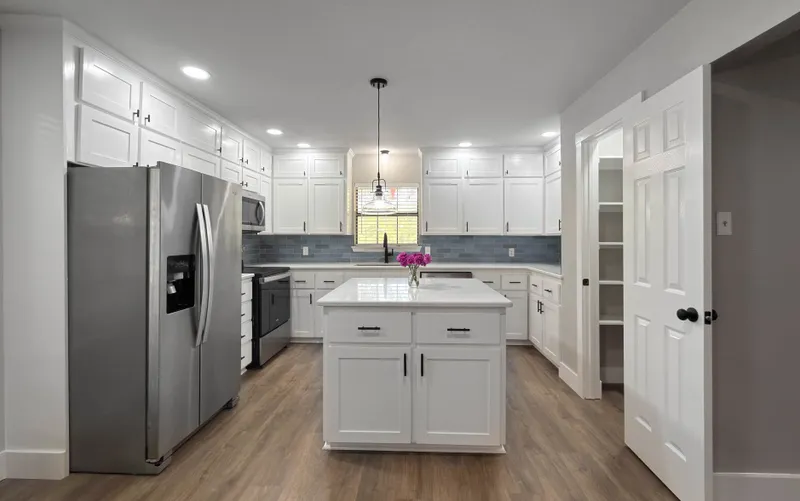
Instead of taking shortcuts, we removed the entire tile surface down to the slab, hauling a full trailer-load of debris to the dump. This intensive prep work removed any risk of the new flooring shifting, settling, or cracking, and ensured a perfectly level LVP install. Top it off with new 6” craftsman style baseboard and the luxurious look is complete.
Central Kitchen Island & Precision Alignment
Correcting a 1.25-Inch Countertop Slant
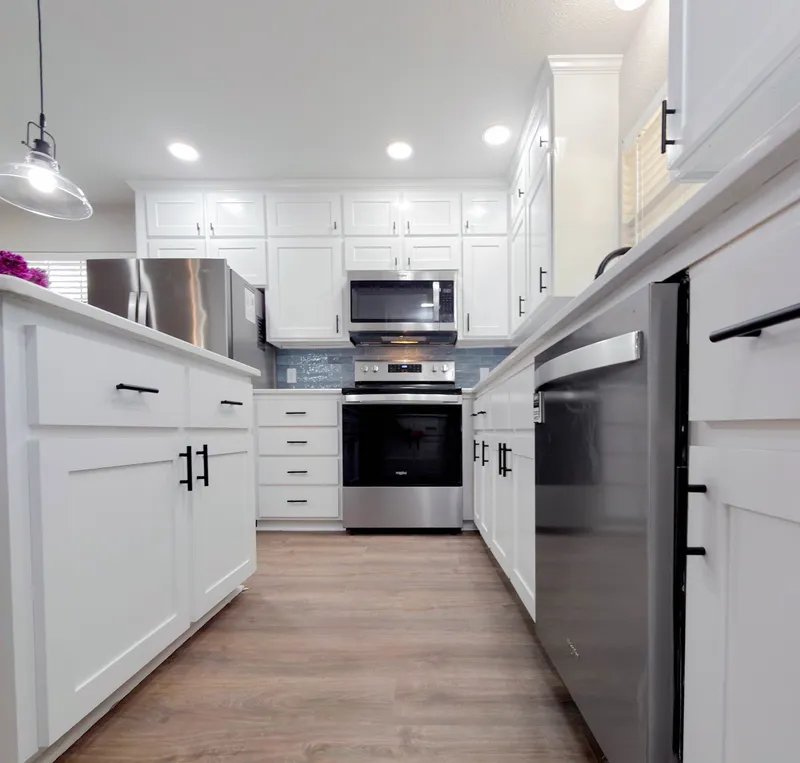
During our structural evaluation, we discovered that the kitchen counter and sink wall dropped 1.25 inches from left to right. Installing a new quartz countertop on a slanted base would look noticeably unlevel and interfere with plumbing and drainage.
Tapered Wedges & Visual Island Placement
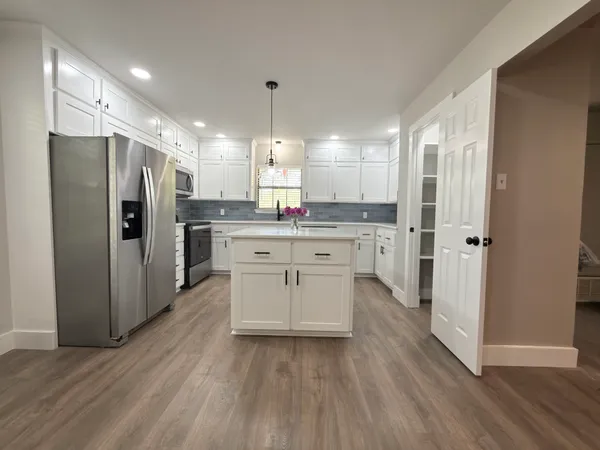
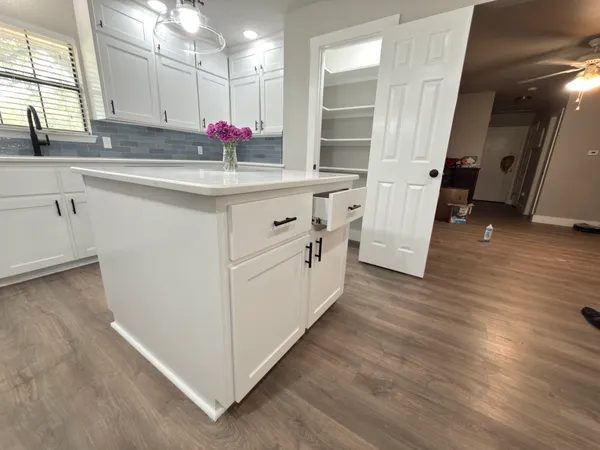
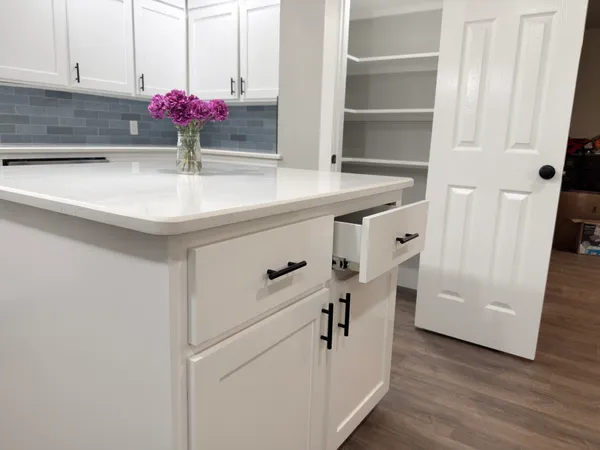
To resolve this, the team custom-crafted a tapered wedge trim piece along the base of the cabinet, leveling the countertop surface perfectly. To align with the corrected quartz countertop height, the range and dishwasher were carefully adjusted and leveled. Finally, we strategically positioned the central island to break the viewer's horizontal sightline, completely hiding the floor's slant from the eye. The matching quartz counter-top adds sophistication and elegance to the project.
Custom Pantry Shelving & Ben's Photo Protocol
Wasted Space Restructured into a Custom Pantry
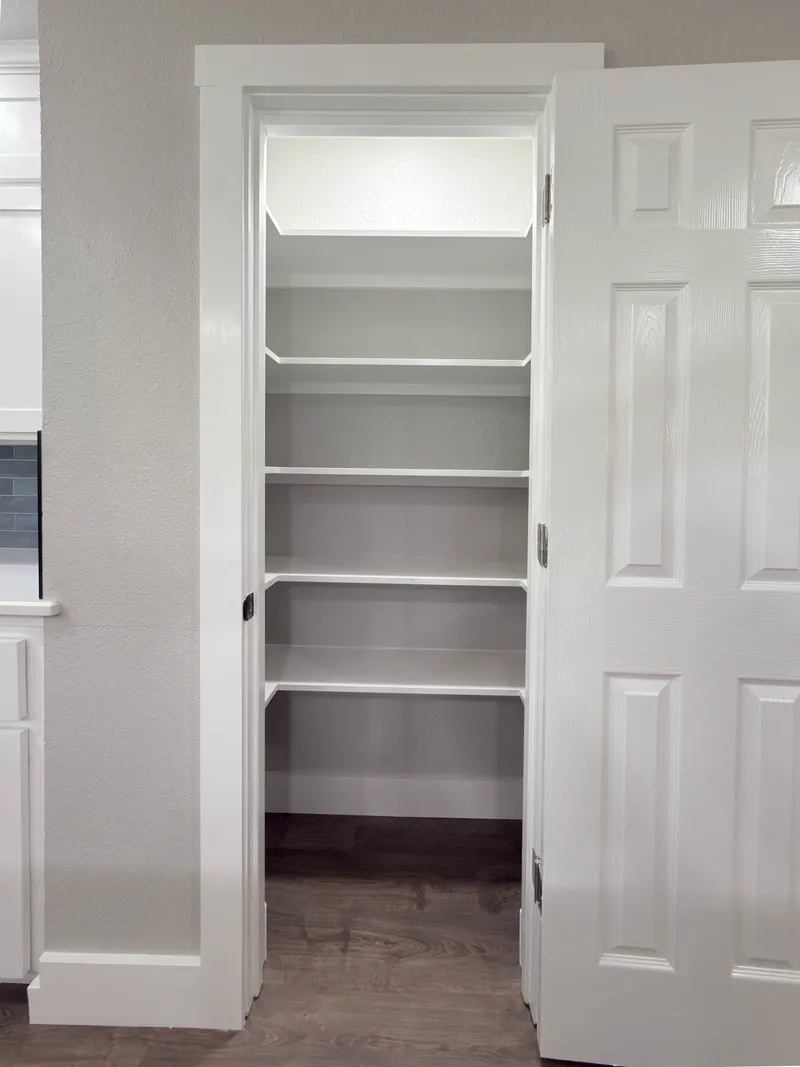
The original house design included a jut in the wall between the living room and kitchen which was basically wasted space. The customer asked if we could build a pantry there. So we did, and customized it to suit their needs.
Ben's High-Resolution Arrangement Protocol
A major kitchen remodel disrupts a household's daily routine. To minimize this impact, Ben, the youngest member of Roger's crew, managed a unique photo protocol. Before clearing out the refrigerator, freezer, and pantry to begin construction, Ben took high-resolution photos of how every jar, box, and container was arranged.
Exact Re-Storage for Instant Client Move-In
Once the final coat of paint dried and the new custom shelving was completed, Ben referred to the photos and returned every single item to its exact original location. The clients returned to a brand-new kitchen with their food arranged precisely as they left it.
Built-In Microwave Cutout & Vent-a-Hood
Countertop Space Optimization & External Venting
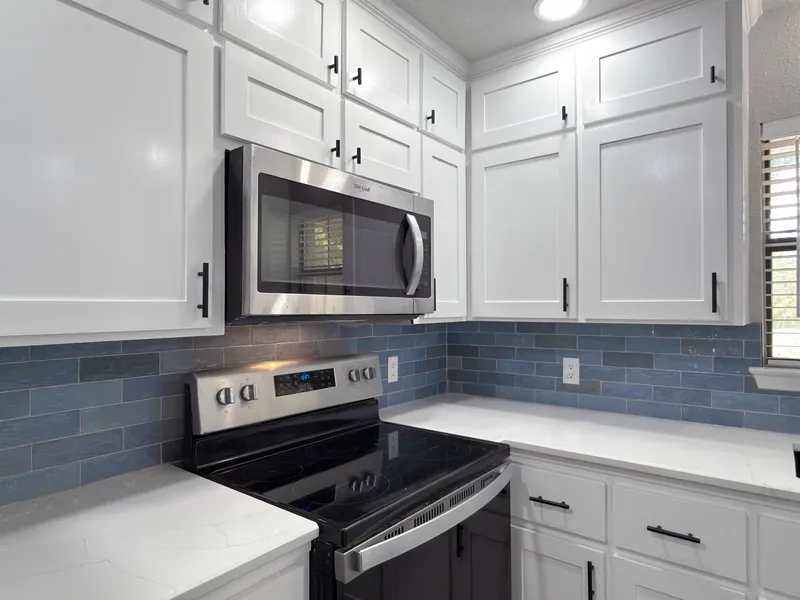
To maximize countertop workspace and provide robust ventilation, the team integrated a custom microwave cutout directly into the upper cabinet layout. Alongside the cutout, an oversized stainless steel vent-a-hood was installed and ducted externally, through the wall instead of the roof, eliminating a problematic roof penetration and possible water leak source.
Cabinet Frame Modification & Custom Wood Trim
This modification required carefully reshaping the existing cabinet frames, rerouting electrical lines, and building custom hardwood trim to house the unit seamlessly. The resulting design delivers a clean, flush appearance that blends with the modified cabinetry, maintaining the visual integrity of the kitchen.
Additional Project Gallery